UNO Driver Installation (Windows)
This is the procedure for UNO Arduino
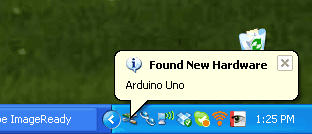
When you plug in the Arduino, you may hear a sound from the computer and a little popup bubble in the bottom right corner of the screen that says Found New Hardware Arduino UNO

 When the computer is done rebooting, make sure the Arduino is plugged in (and the green light is lit). Go to the Device Manager (From the Start Menu, select Settings->Control Panel. Double click on System and select the Hardwaretab. Then click on the Device Manager button)
When you plug in the Arduino, you may hear a sound from the computer and a little popup bubble in the bottom right corner of the screen that says Found New Hardware Arduino UNO
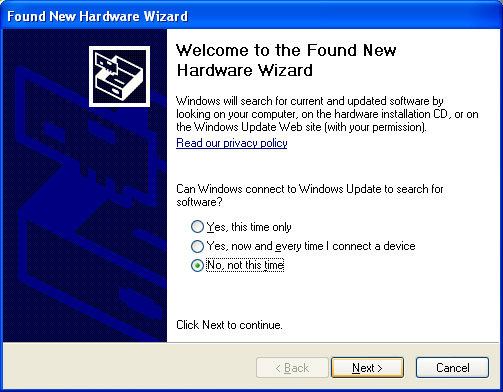
After a few seconds, the new hardware wizard will start. Select "No not this time" and click Next>
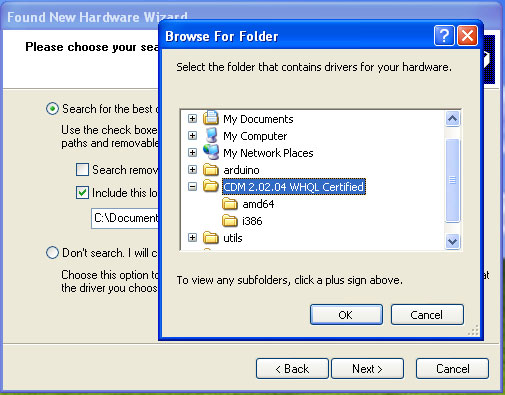
At the next screen, select Install from a list or specific location
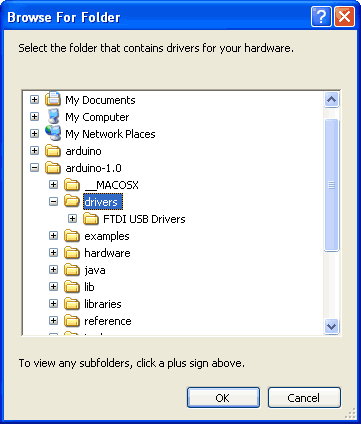
At the next screen make sure Include this location is selected and browse to the Arduino IDE folder and select thedrivers folder. Select the folder and click OK
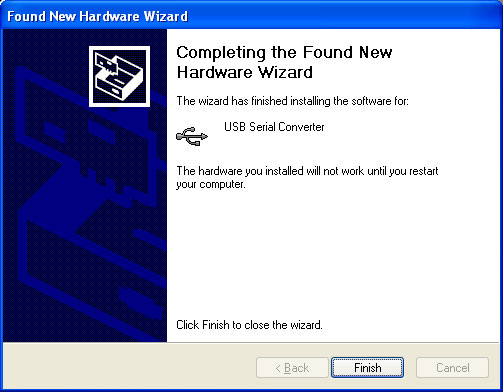
It should copy some files and then come up with this window. Click Finish
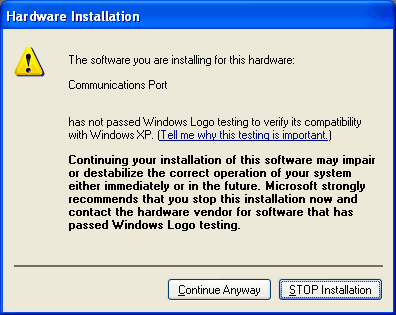
Almost immediately, another window will pop up, this time it will be a warning. Click Continue Anyway
And it should complete successfully!
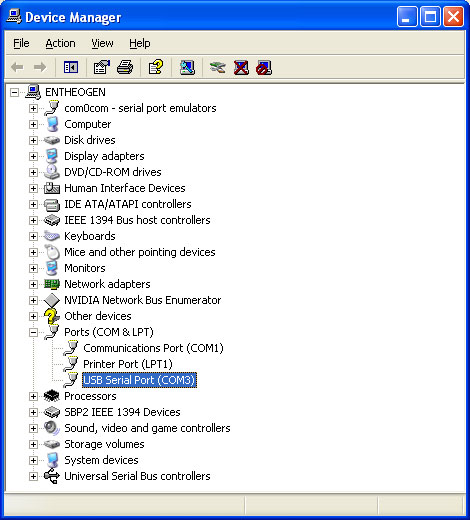
Look for an entry under Ports (COM & LPT) that says USB Serial Port (COM) the COM number may vary but it should be something like COM3 or COM4. The COM stands for "communication", and each one has a unique number, known as the COM Port number. In this case the COM Port number is COM3.
If you don't see the COM port verify the Arduino is plugged in
FTDI Driver Installation (Windows)
If you're using an older pre-UNO arduino, you'll have to install the FTDI driver.
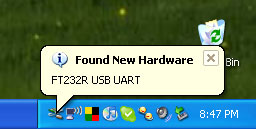
When you plug in the Arduino, you may hear a sound from the computer and a little popup bubble in the bottom right corner of the screen that says Found New Hardware FT232R USB UART


 When the computer is done rebooting, make sure the Arduino is plugged in (and the green light is lit). Go to the Device Manager (From the Start Menu, select Settings->Control Panel. Double click on System and select the Hardwaretab. Then click on the Device Manager button)
When you plug in the Arduino, you may hear a sound from the computer and a little popup bubble in the bottom right corner of the screen that says Found New Hardware FT232R USB UART
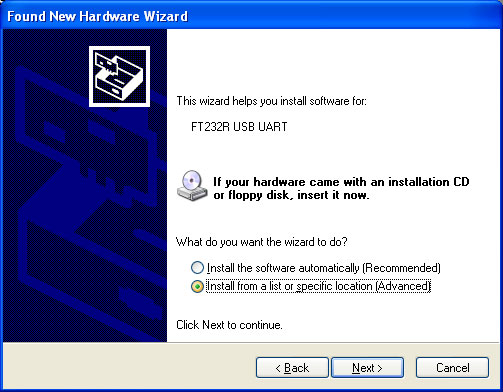
After a few seconds, the new hardware wizard will start. Select "No not this time" and click Next>
At the next screen, select Install from a list or specific location
At the next screen make sure Include this location is selected and browse to the folder that contains the driver you downloaded. Select the folder and click OK
It should copy some files and then come up with this window. Click Finish
Almost immediately, another window will pop up, this time it will say USB Serial Port. As before, click Install from a list or specific location
Browse to the same folder again...
And it should complete successfully!
You may need to reboot the computer.
Look for an entry under Ports (COM & LPT) that says USB Serial Port (COM) the COM number may vary but it should be something like COM3 or COM4. The COM stands for "communication", and each one has a unique number, known as the COM Port number. In this case the COM Port number is COM3.
If you don't see the COM port verify the Arduino is plugged in, and check that you installed the VCP FTDI driver.
FTDI Driver Installation Mac OS X
If you have an older, pre-UNO arduino you'll need to install the FTDI drivers. UNO Arduinos do not need a driver!
Open up the driver dmg file
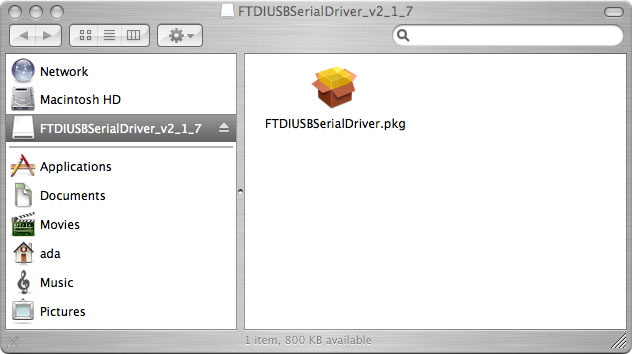

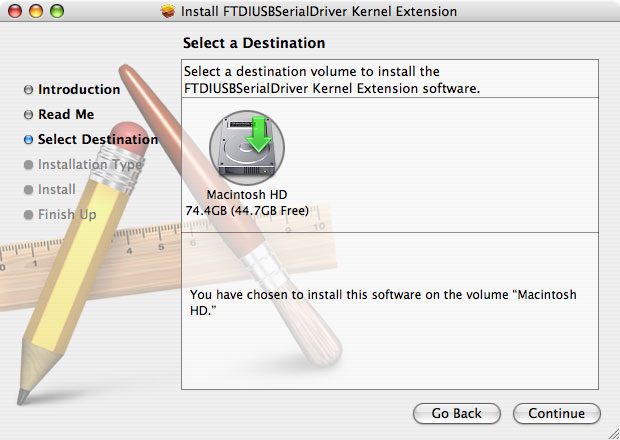

Open up the driver dmg file
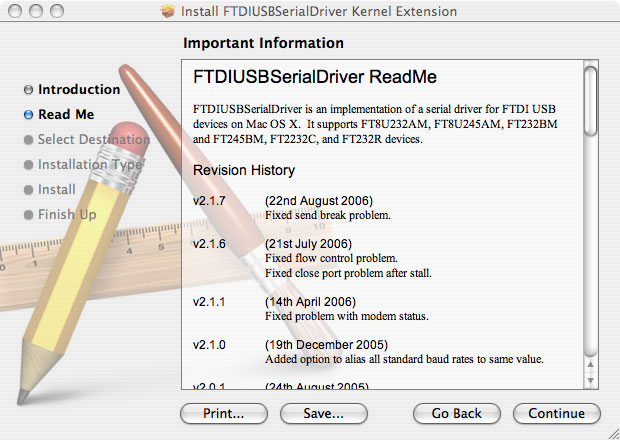
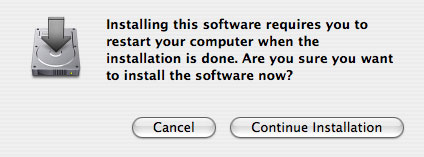
And double click on the driver package, go through all the steps necessary to install the driver
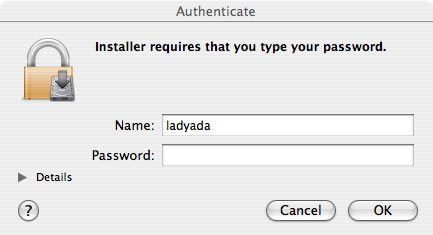
You will need administrative priviledges to install the software
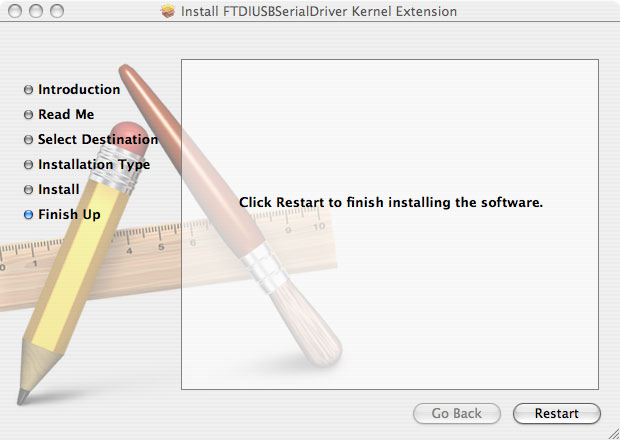
When it's done, restart the computer
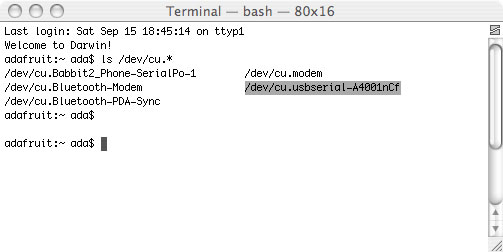
Once its rebooted, start up Terminal, located in the Utilities folder
Plug in the Arduino, make sure the green light is on.
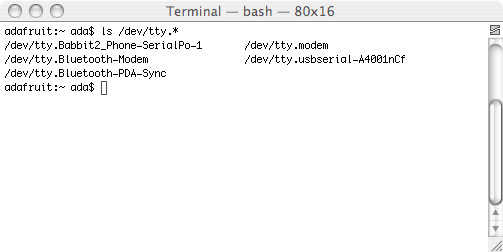
In the Terminal window, type in ls /dev/cu.* and/or ls /dev/tty.* which should give the following responses
In the Terminal window, type in ls /dev/cu.* and/or ls /dev/tty.* which should give the following responses
Make sure you see a line with the text /dev/cu.usbserial-xxxxx where the xxx's can be anything. Same for/dev/tty.usbserial-xxxxx. This indicates that the driver installed properly and that the Arduino was found.
If you can't find the text, verify that your Arduino is plugged in, try a different USB port.
You can also try running the Console application, which will possibly give you some information about why its failing.
You can also try running the Console application, which will possibly give you some information about why its failing.
Driver Installation (Linux)
Linux doesn't have any drivers to install, assuming you're running a v2.6 kernel. These instructions assume you're running Ubuntu. Each linux distribution is different, but the instructions should be basic enough to follow for other distros.
You can verify your kernel version by running uname -a in a terminal window, note that this kernel is version 2.6.20
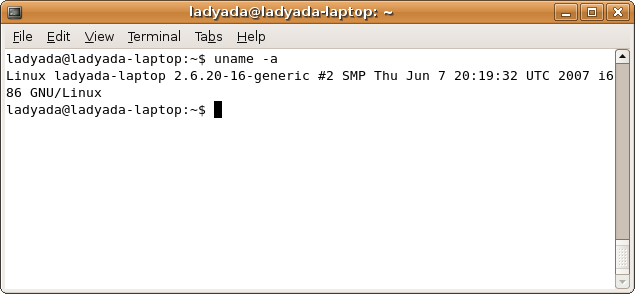
You can verify your kernel version by running uname -a in a terminal window, note that this kernel is version 2.6.20
Sometimes the Linux distribution installs brltty (braille device) which will conflict with the Arduino. You must uninstall brltty! Do so by running
sudo apt-get remove brltty
In a terminal window. If it says it's not installed then thats OK. If you're not running a Debian-derived installation use whatever tool is necessary to verify that you don't have brltty running
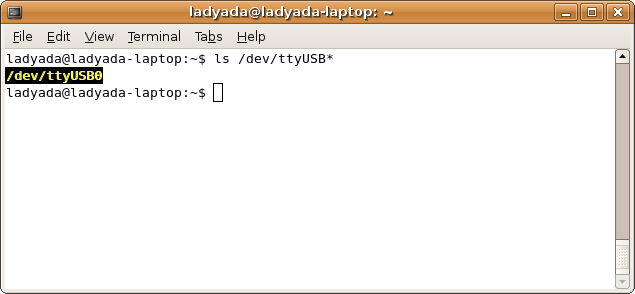
Plug in the Arduino, verify that the green LED is lit, and type ls /dev/ttyUSB* into a terminal window, you should see a device file called something like ttyUSB0
Depending on your Linux distro, it may be /dev/tty/USB0 or /dev/tty.USB etc.
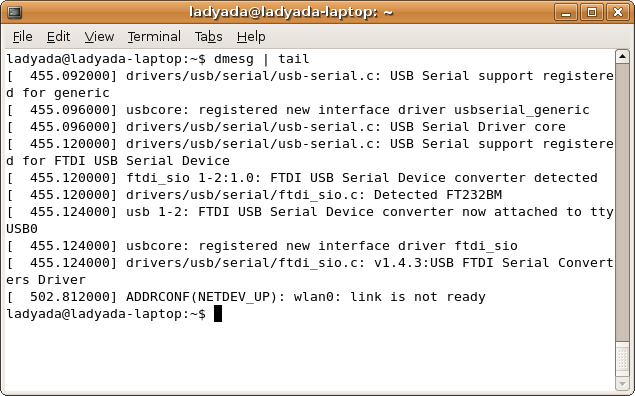
If you can't seem to find it, use dmesg | tail right after plugging in the Arduino and look for hints on where it may put the device file. For example here is says Serial Device converter now attached to ttyUSB0
If you see something like this
[ 1900.712000] ftdi_sio 2-10:1.0: FTDI USB Serial Device converter detected
[ 1900.712000] drivers/usb/serial/ftdi_sio.c: Detected FT232BM
[ 1900.712000] usb 2-10: FTDI USB Serial Device converter now attached to ttyUSB0
[ 1901.868000] usb 2-10: usbfs: interface 0 claimed by ftdi_sio while 'brltty' sets config #1
[ 1901.872000] ftdi_sio ttyUSB0: FTDI USB Serial Device converter now disconnected from ttyUSB0
[ 1901.872000] ftdi_sio 2-10:1.0: device disconnected
That means you have not uninstalled brltty and you should try again.
No comments:
Post a Comment