Introduction
Ah yes, it is finally time to make your Arduino do something! We're going to start with the classic hello world! of electronics, a blinking light.
This lesson will basically get you up and running using the Arduino software and uploading a sketch to the Arduino board. Once you've completed this step we can continue to the really exciting stuff, which is when we start writing our own sketches!
These instructions mostly show Windows software. Except when indicated, the software (should be) identical on all platforms. Linux will be added once I figure out how to get it working (yay)
Do you have everything you need?
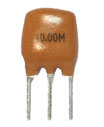
Not much is needed for this lesson, just a USB cable and an Arduino. If you have an older Arduino you may also need an LED. Any LED is fine as long as it looks sorta like the photo, with a plastic bulb and two legs
Make sure you've gone through Lesson 0 first!
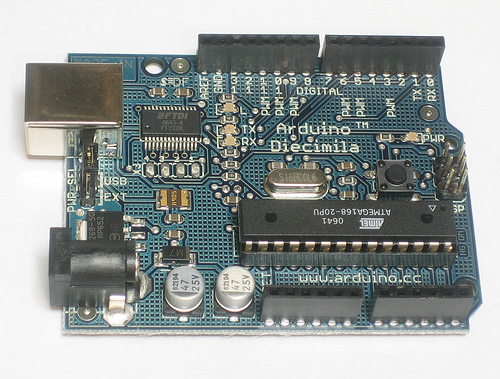
 | Assembled Arduino board, preferrably a Diecimila (or whatever the latest version is) |
$35
| |
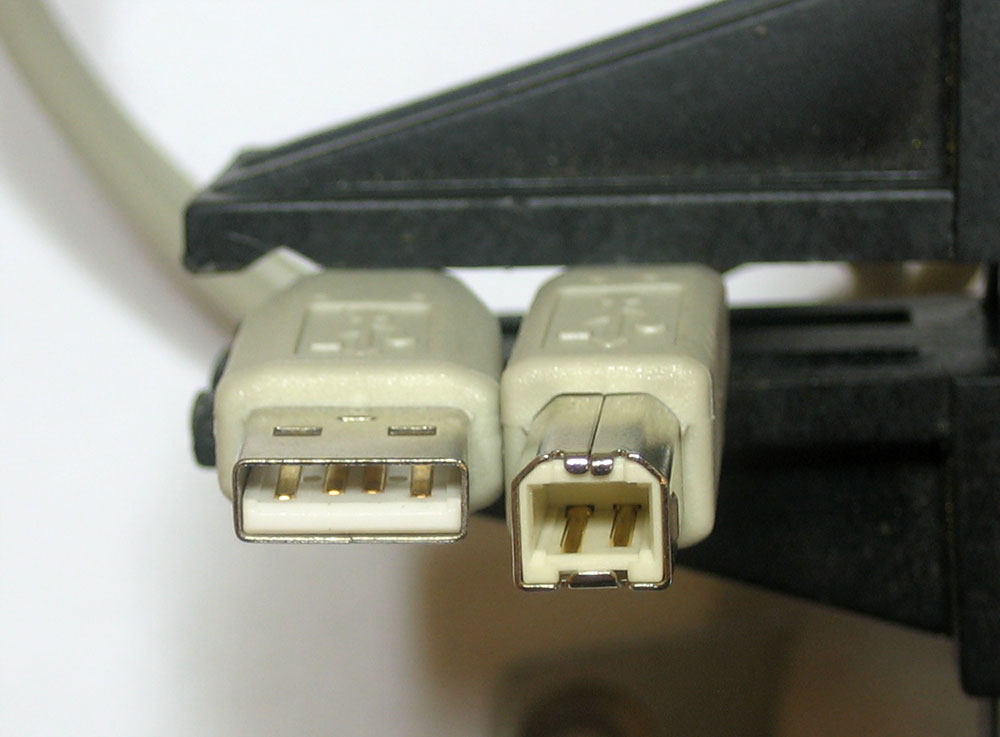
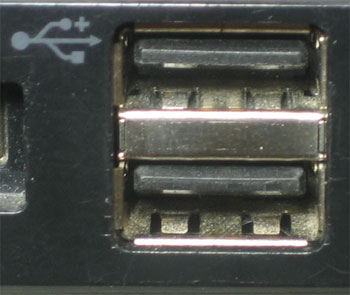
 | USB Cable. Standard A-B cable is required. Any length is OK. |
Or any computer supply store
|
$5
|
| LED - Optional Nearly any LED is OK, as long as it has two wire legs. This part is only required for NG rev c Arduinos (and maybe other older ones). Diecimila Arduino's have this part 'built-in' | Any electronics supply store | $1 |
Download the Software
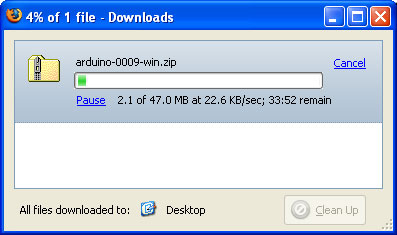
The first thing to do is download the Arduino software.
Go to the Arduino Software Download page and grab the right file for your OS. As of Sept 2007 the version is 009 but you should use whatever is most recent.
The packages are quite large, 30-50 MB so it may take a while to finish
Unpack and Install
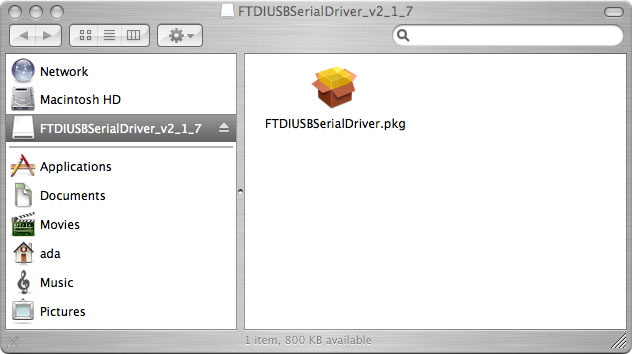
Extract the package onto the Desktop
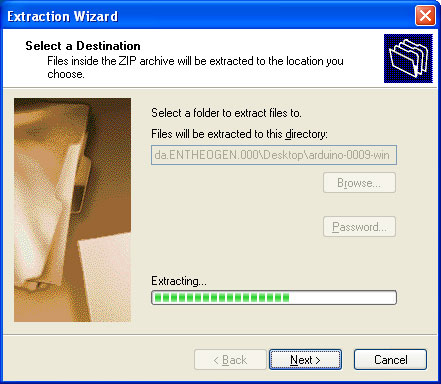
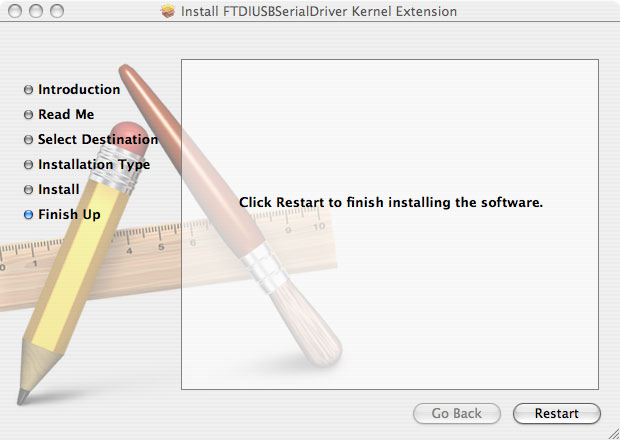
Windows
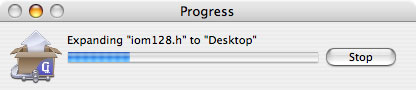
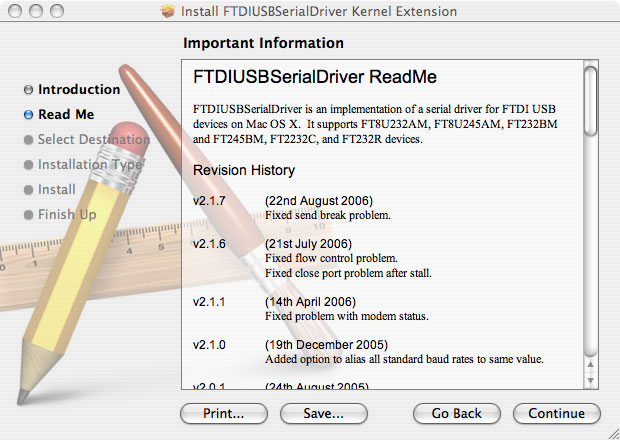
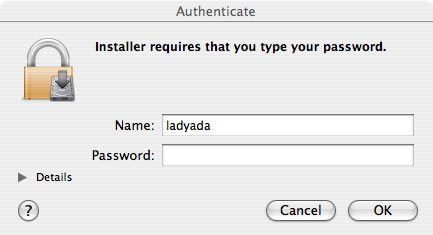
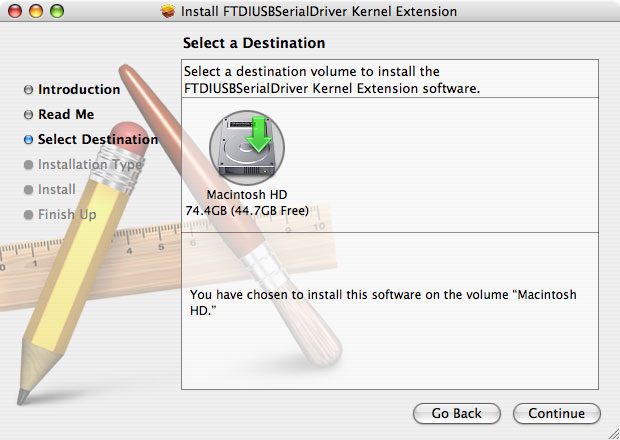
Mac OS X
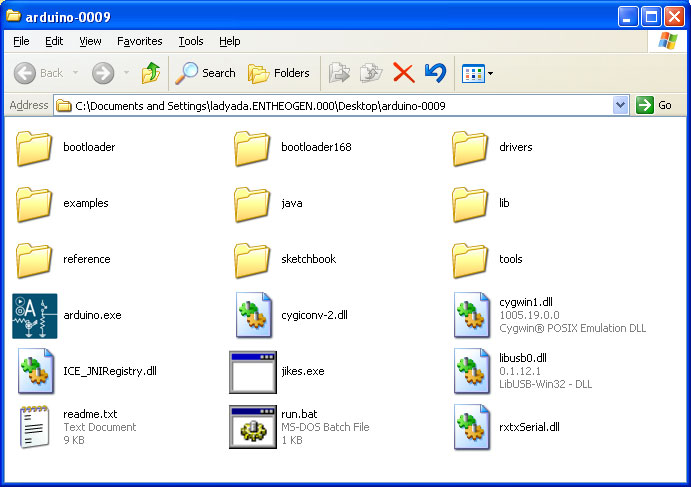
Windows
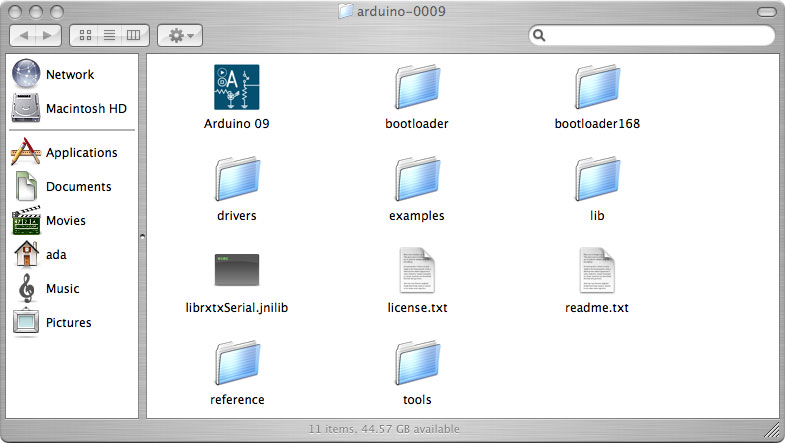
Mac OS X
Startup!
Double click the Arduino software icon
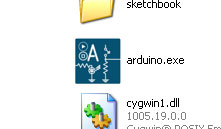
Windows
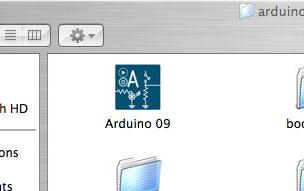
Mac OS X
To open up the workspace
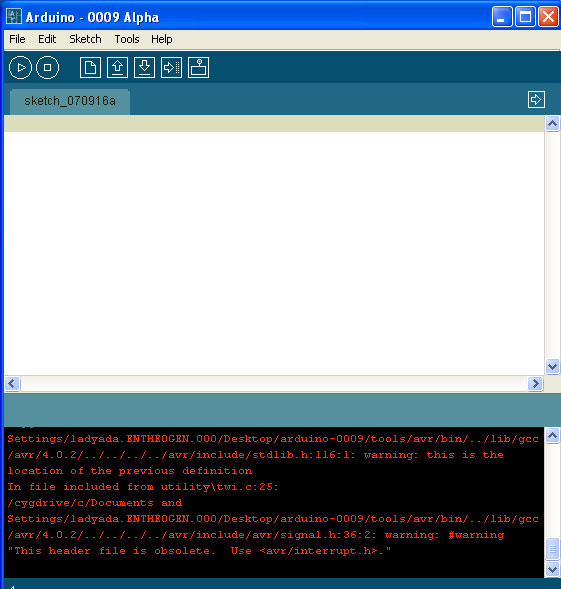
I think I get the red error text shown because I already have Arduino installed. Either way, it isn't a problem if you do or don't see it.
Select chip
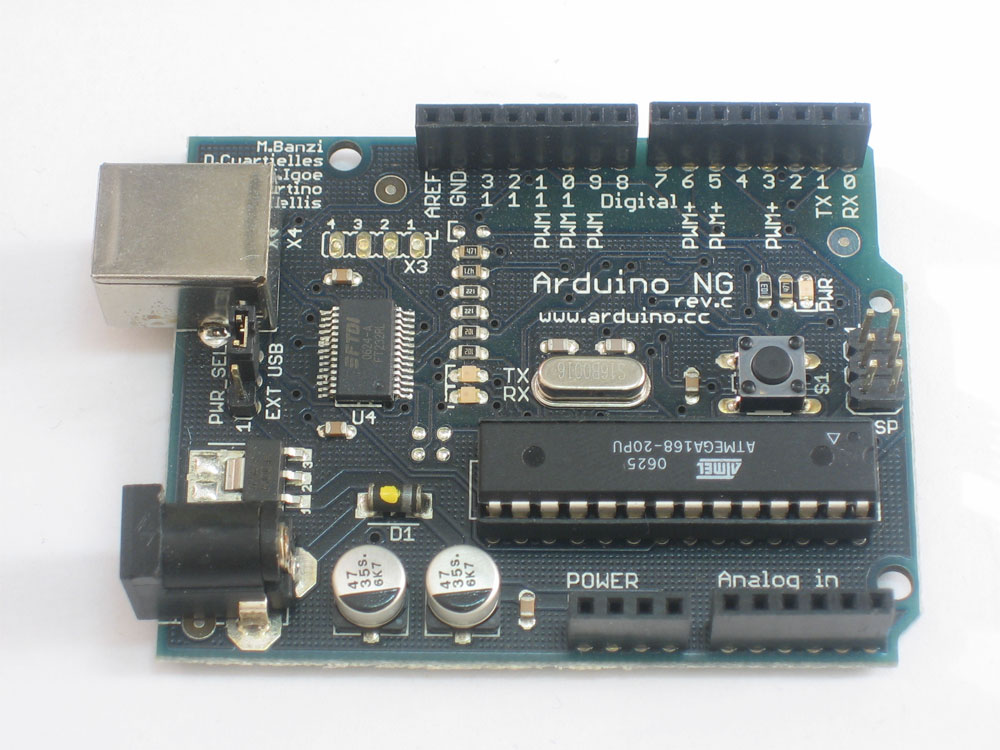
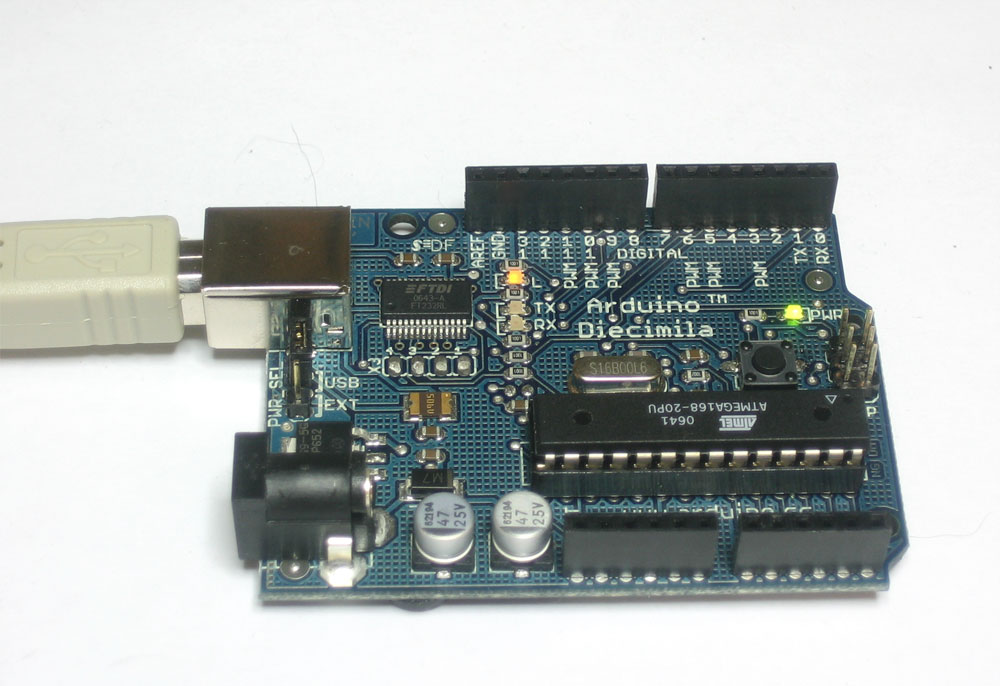
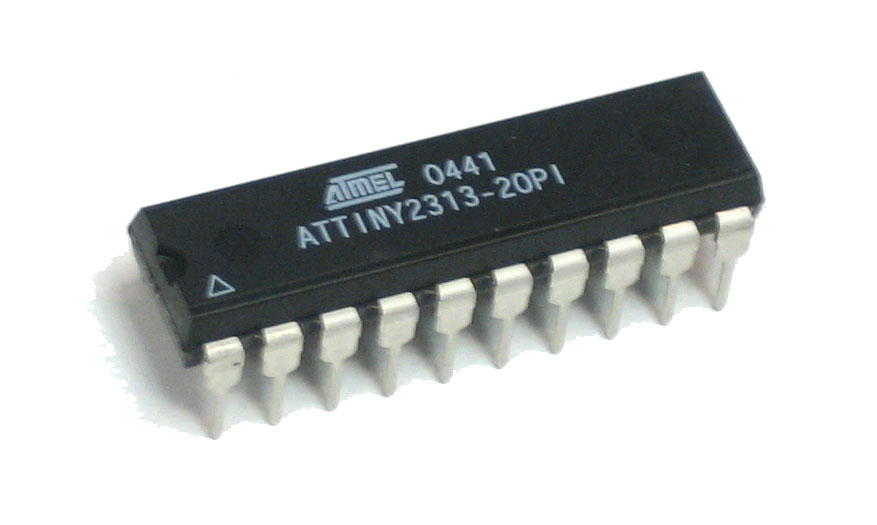
The first step is to configure the Arduino software for the correct chip. Almost all Arduinos use the ATmega168, but there's a chance you have an ATmega8. Look for the chip on the Arduino that looks like this:
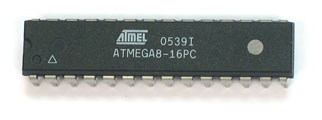
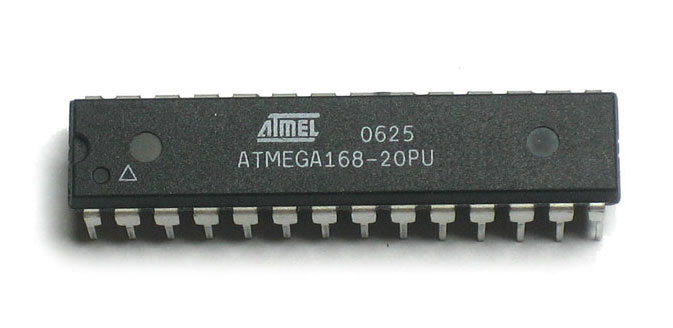
If the text says ATMEGA8-16P then you have an atmega8 chip. If the text says ATMEGA168-20P then you have anatmega168 chip. If it says "ATMEGA328P-20P" you have an atmega328p chip
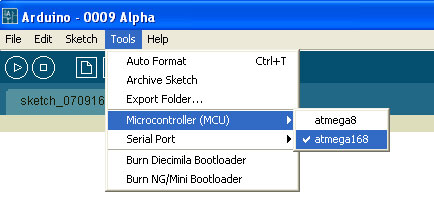
Make sure the correct chip is selected (this picture is really old, will be fixed soon). This preference is saved so you only have to set it once, the program will remember next time it's run.
Select port
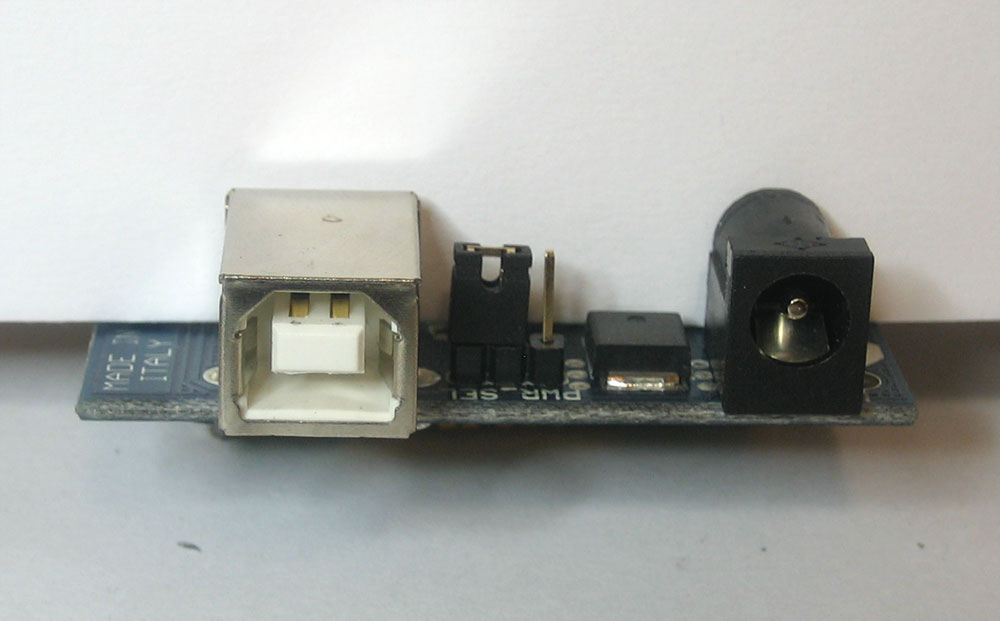
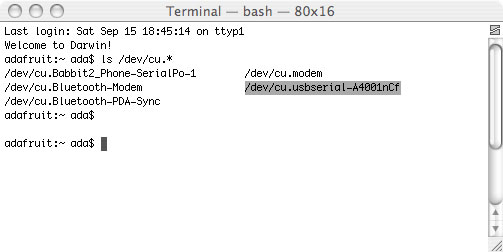
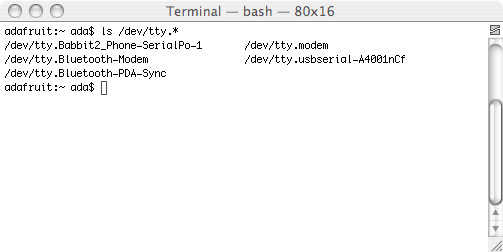
Next, its time to configure the Serial Port (also known as the COM Port). Go back to lesson 0 to remind yourself of which port it is. On a PC it will probably be something like COM3 or COM4. On a Mac it will be something liketty.usbserial-xxxxx
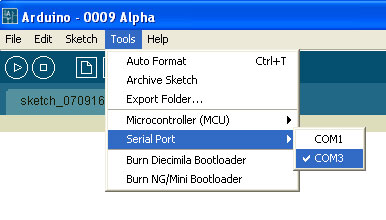
Windows port selection
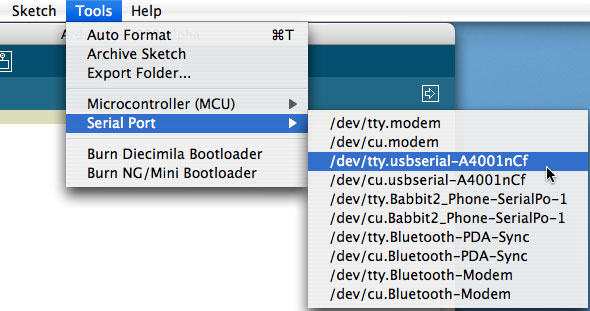
Mac port selection
This preference is saved so you only have to set it once, the program will remember next time it's run.
However, if you have multiple Arduino's, they may be assigned difference COM ports. So every time you plug in a new Arduino, double check that the correct port is selected.
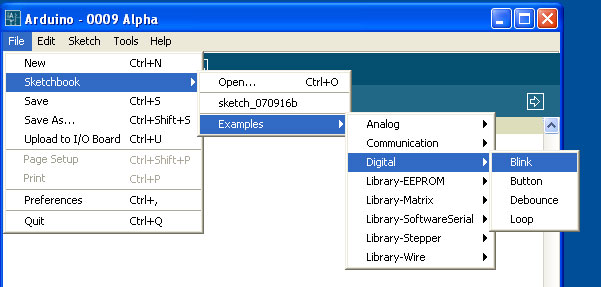
Open blink sketch
Sketches are little scripts that you can send to the Arduino to tell it how to act. Let's open up an Example Sketch. Go to the File menu -> Sketchbook -> Examples -> Digital -> Blink
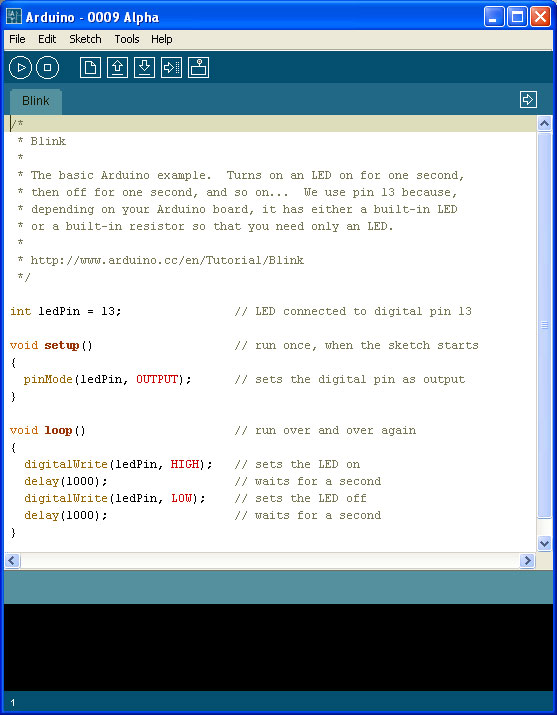
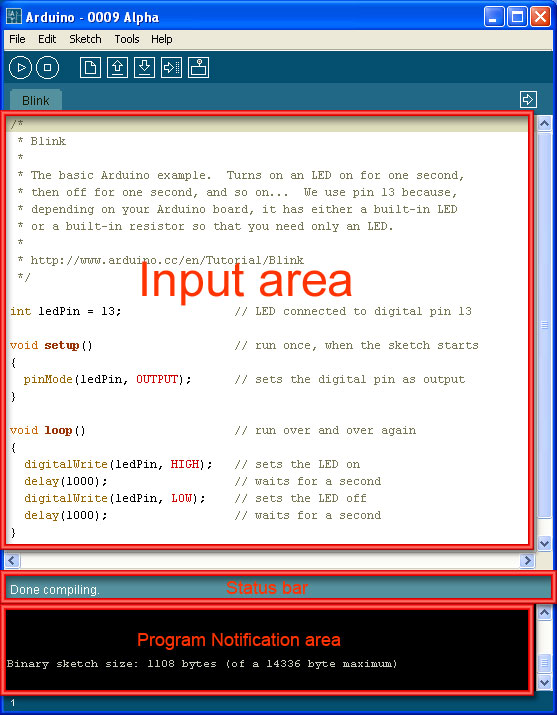
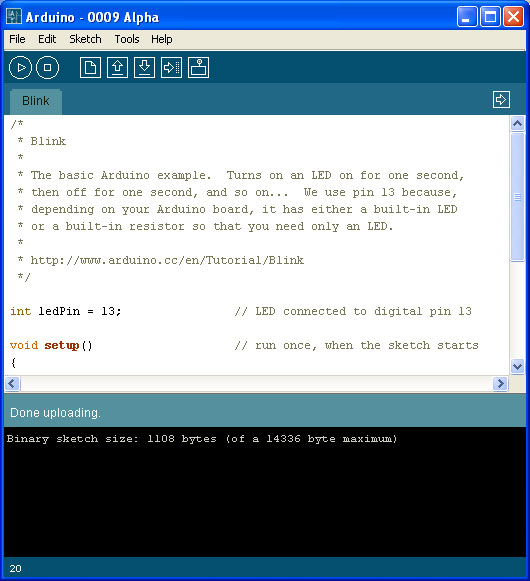
The window should now look like this, with a bunch of text in the formerly empty white space and the tab Blinkabove it
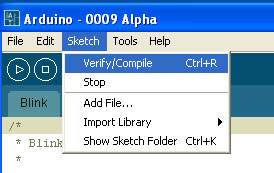
Verify / Compile
The first step to getting a Sketch ready for transfer over to the arduino is to Verify/Compile it. That means check it over for mistakes (sort of like editing) and then translate it into an application that is compatible with the Arduino hardware.
After a few seconds, you should see the message Done compiling. in the Status Bar and Binary Sketch Size: in theNotification area. This means the sketch was well-written and is ready for uploading to the Arduino board!
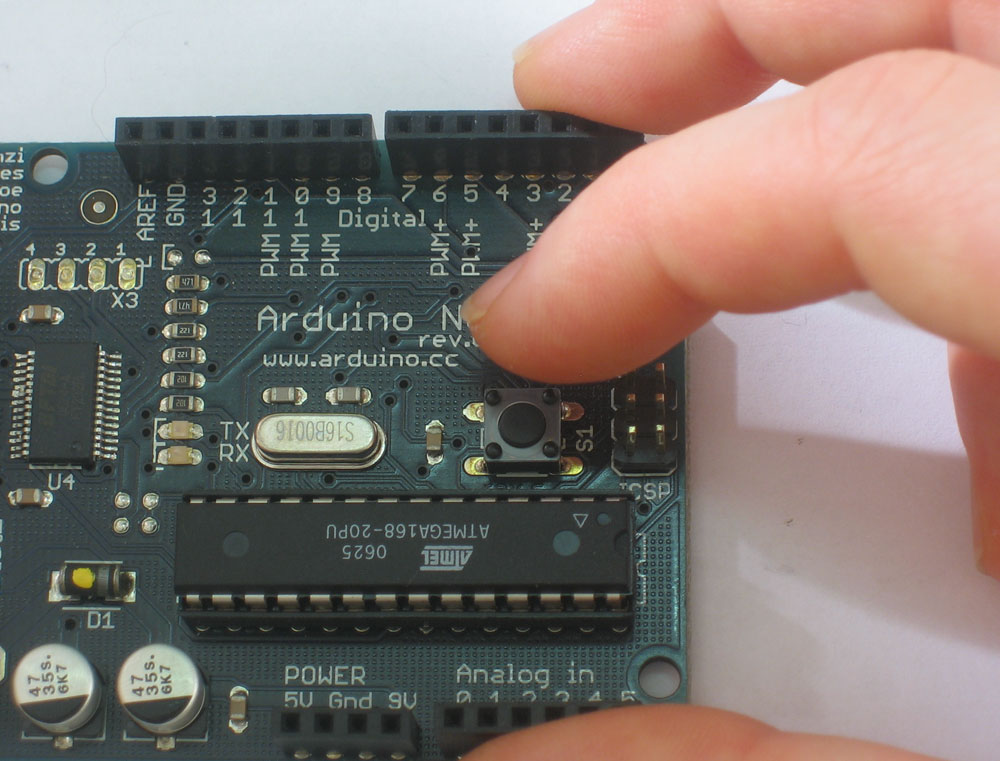
Reset (NG only)
To tell the Arduino that it should prepare itself for a new Sketch upload, you must reset the board. Diecimila Arduino's have built-in auto-reset capability, so you don't need to do anything. Older Arduinos, such as NG, must be manually reset before uploading a sketch. To do that simply press the black button on the right hand side of the board, shown here.
Upload
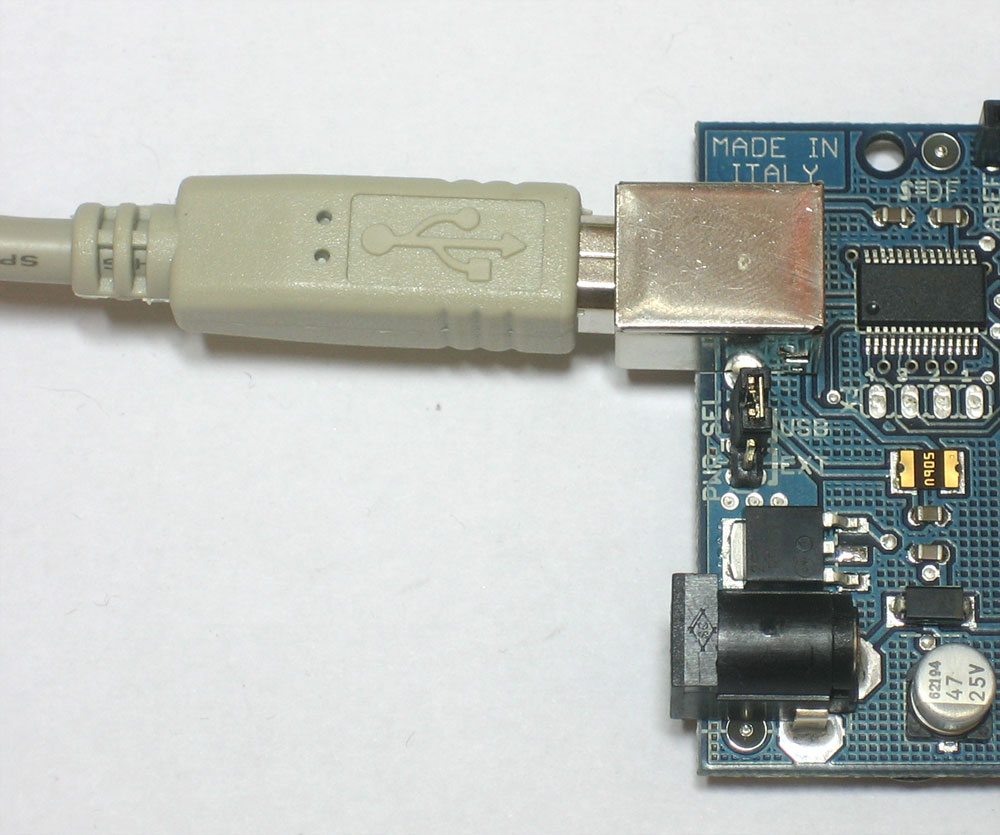
Now it's time to upload. Make sure the Arduino is plugged in, the green light is on and the correct Serial Port is selected.
If you have an NG Arduino, press the Reset Button now, just before you select the Upload menu item.
Select Upload to I/O Board from the File menu
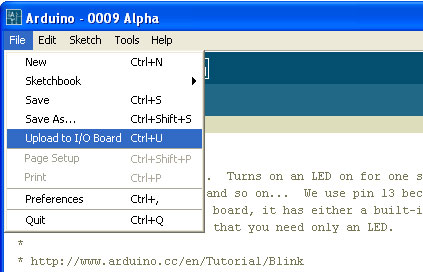
After a few seconds you should get this screen, with the message Done uploading. in the status bar.
If you get the following error message "avrdude: stk500_getsync(): not in sync: resp=0x00" that means that the Arduino is not responding
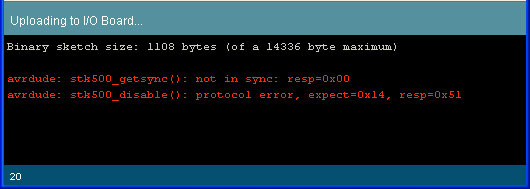
Then check the following:
- If you have a NG Arduino, did you press reset just before selecting Upload menu item?
- Is the correct Serial Port selected?
- Is the correct driver installed?
- Is the chip inserted into the Arduino properly? (If you built your own arduino or have burned the bootloader on yourself)
- Does the chip have the correct bootloader on it? (If you built your own arduino or have burned the bootloader on yourself)
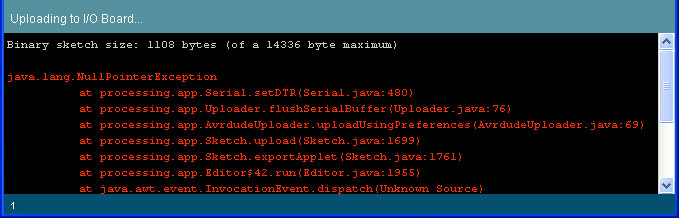
If you get the following error message:
If you get the following error Expected signature for ATMEGA
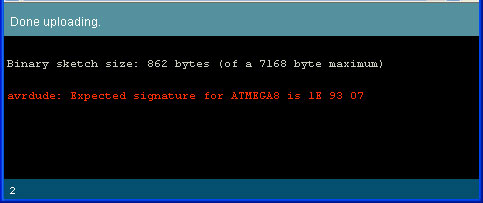
Then you have either the incorrect chip selected in the Tools menu or the wrong bootloader burned onto the chip
If you get the following error: can't open device "COM10": The system cannot find the file specified (under Windows, COM port value may vary)
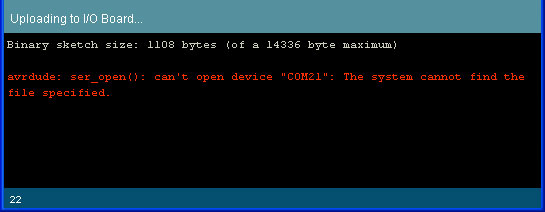
It means that you have too many COM ports (maybe you've got 9 Arduinos?) You should make sure that the port is numbered as low as possible. You can use a program like FTClean to clear out old COM ports you aren't using anymore. Once you've cleaned out the ports, you'll have to reinstall the driver again (see lesson 0).
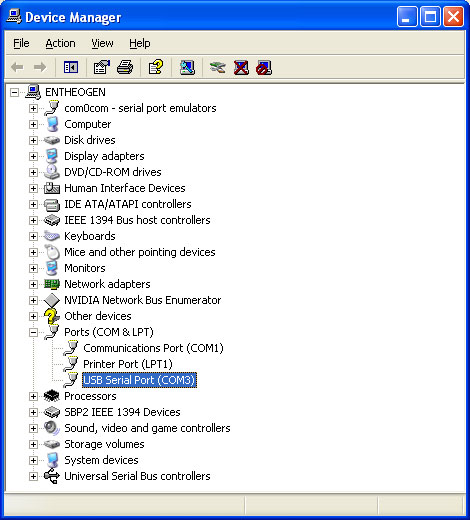
Alternately, if you're sure that the ports are not used for something else but are left over from other USB devices, you can simply change the COM port using the Device Manager. Select the USB device in the Device Manager, right click and select Properties
Alternately, if you're sure that the ports are not used for something else but are left over from other USB devices, you can simply change the COM port using the Device Manager. Select the USB device in the Device Manager, right click and select Properties
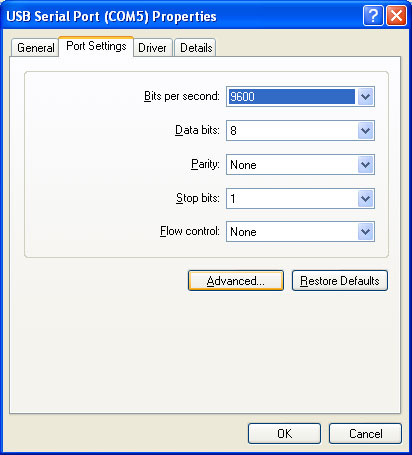
Then click Advanced... and in the next window change the COM port to something like COM4 or COM5. Don't forget to select the new port name in the Arduino software. The lower port names may say (in use) but as long as the other USB devices aren't plugged in, it shouldn't be a problem. This is a little riskier than just using FTClean...
Video of all steps
Here is a video showing the timing of the steps described so far.
Insert LED (NG Arduinos)
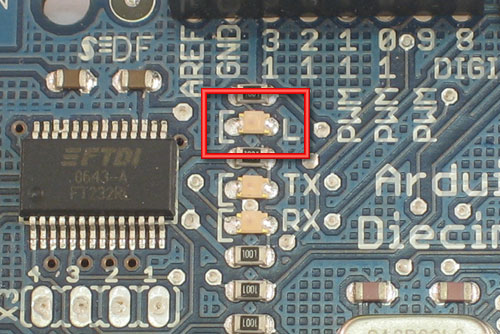
Some older Arduinos don't have a built in LED, its easy to tell if yours does or not
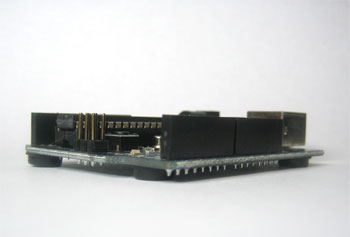
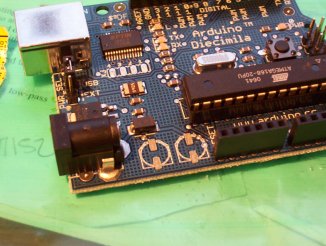
If you have a Diecimila or other Arduino with a built in LED you will see a translucent part as shown
If you have an NG rev C or other Arduino without an LED, the translucent part will not be there, and instead you will see two silver dots
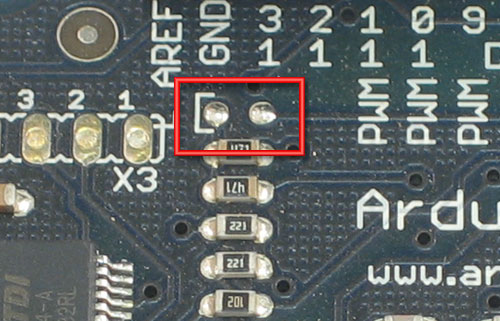
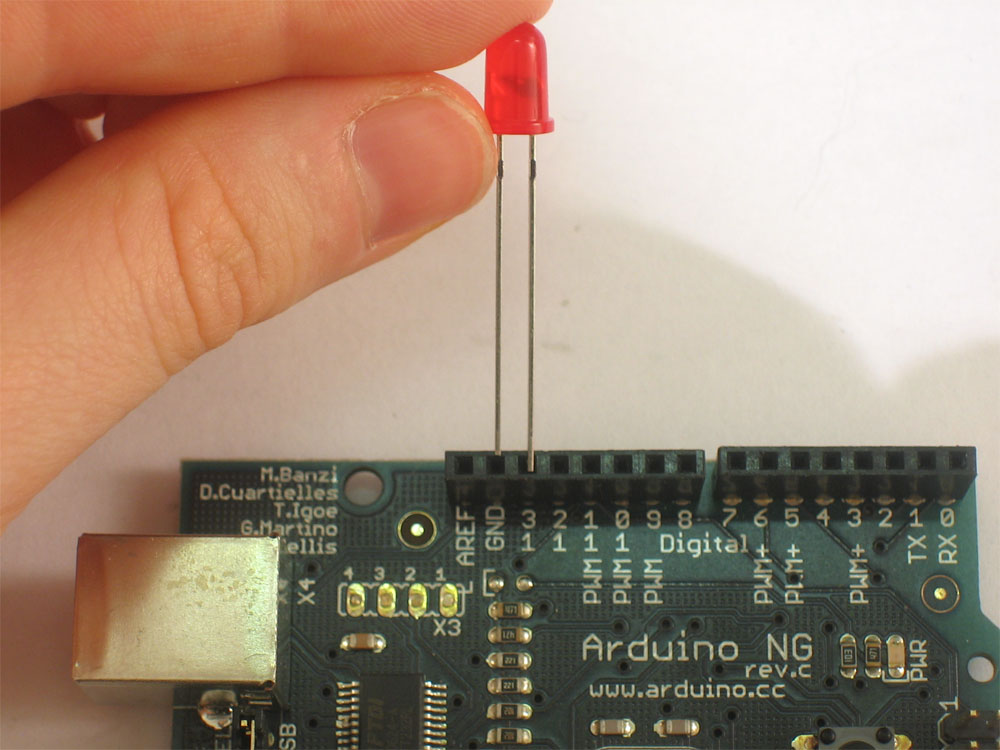
If you don't have an LED, you'll need to add your own. Any LED will do, as long as it has two legs and kinda looks like the one shown here. LEDs are directional components. That means if you put it in backwards it will not work! To help you put the LED in right, the LED factory cuts the legs at different lengths. The longer leg goes in the hole marked 13 and the shorter one goes in the hole marked GND